Complete Guide to Farm Buildings in Stardew Valley
![]() Cordelia Cross
Jul 16, 2024 11:34
0
Cordelia Cross
Jul 16, 2024 11:34
0
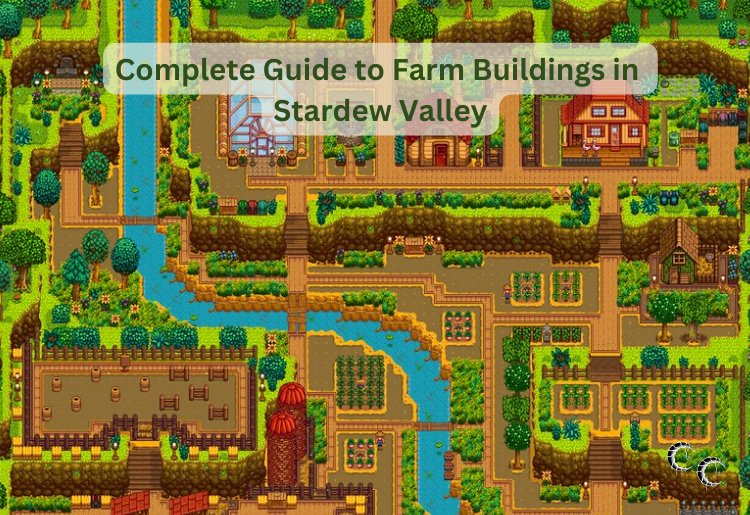
In Stardew Valley, expanding your farm with various buildings is essential for efficient farming, animal husbandry, and overall farm management. Here’s a comprehensive guide to every building you can craft for your farm, including their prices and required materials.
1. Coop
The Coop is where you’ll house your chickens, void chickens, ostriches, ducks, and rabbits.
- Cost: 4,000g
- Materials: 300 Wood, 100 Stone
- Upgrades:
- Big Coop:
- Cost: 10,000g
- Materials: 400 Wood, 150 Stone
- Features: Can house up to 8 animals, includes an incubator
- Deluxe Coop:
- Cost: 20,000g
- Materials: 500 Wood, 200 Stone
- Features: Can house up to 12 animals, includes an auto-feed system
- Big Coop:
2. Barn
The Barn is essential for raising cows, goats, sheep, dinosaurs, and pigs.
- Cost: 6,000g
- Materials: 350 Wood, 150 Stone
- Upgrades:
- Big Barn:
- Cost: 12,000g
- Materials: 450 Wood, 200 Stone
- Features: Can house up to 8 animals
- Deluxe Barn:
- Cost: 25,000g
- Materials: 550 Wood, 300 Stone
- Features: Can house up to 12 animals, includes an auto-feed system
- Big Barn:
3. Silo
The Silo stores hay for feeding your animals.
- Cost: 100g
- Materials: 100 Stone, 10 Clay, 5 Copper Bars
- Capacity: 240 pieces of hay
4. Well
The Well provides a source of water for your crops.
- Cost: 1,000g
- Materials: 75 Stone
5. Mill
The Mill allows you to produce flour from wheat and sugar from beets.
- Cost: 2,500g
- Materials: 50 Stone, 150 Wood, 4 Cloth
6. Shed
The Shed provides extra storage space for your farm.
- Cost: 15,000g
- Materials: 300 Wood
- Upgrades:
- Big Shed:
- Cost: 20,000g
- Materials: 550 Wood
- Features: Provides double the space of a regular shed
- Big Shed:
7. Slime Hutch
The Slime Hutch allows you to raise slimes.
- Cost: 10,000g
- Materials: 500 Stone, 10 Refined Quartz, 1 Iridium Bar
- Capacity: 20 slimes
8. Stable
The Stable provides housing for your horse.
- Cost: 10,000g
- Materials: 100 Hardwood, 5 Iron Bars
- Features: Comes with a horse
9. Fish Pond
The Fish Pond allows you to raise fish and harvest their produce.
- Cost: 5,000g
- Materials: 200 Stone, 5 Seaweed, 5 Green Algae
- Capacity: Starts with 3 fish, can be increased to 10 with quests
10. Cabin
The Cabin allows you to have friends join your farm in multiplayer mode.
- Cost: 100g
- Materials: 10 Stone, 5 Wood
- Types:
- Stone Cabin: 10 Stone, 5 Wood
- Plank Cabin: 10 Wood
- Log Cabin: 10 Wood
11. Earth Obelisk
The Earth Obelisk is a warp totem that teleports you to the Mountain.
- Cost: 500,000g
- Materials: 10 Iridium Bars, 10 Earth Crystals
12. Water Obelisk
The Water Obelisk is a warp totem that teleports you to the Beach.
- Cost: 500,000g
- Materials: 5 Iridium Bars, 10 Clams, 10 Corals
13. Desert Obelisk
The Desert Obelisk is a warp totem that teleports you to the Desert.
- Cost: 1,000,000g
- Materials: 20 Iridium Bars, 10 Coconuts, 10 Cacti
14. Island Obelisk
The Island Obelisk teleports you to Ginger Island.
- Cost: 1,000,000g
- Materials: 10 Iridium Bars, 10 Dragon Teeth, 10 Banana Saplings
15. Gold Clock
The Gold Clock prevents fences from decaying and weeds from appearing on your farm.
- Cost: 10,000,000g
- Materials: None
16. Junimo Hut
The Junimo Hut allows Junimos to harvest crops for you.
- Cost: 20,000g
- Materials: 200 Stone, 9 Starfruit, 100 Fiber
Building Tips:
- Plan Ahead: Prioritize buildings that align with your farming goals. If you want to focus on animal husbandry, build Coops and Barns first.
- Upgrade Wisely: Upgrading your Coop and Barn to their Deluxe versions as soon as possible will save you time and effort with the auto-feed system.
- Resource Management: Keep a stock of essential materials like wood, stone, and hardwood to avoid delays in building.
- Strategic Placement: Place buildings in convenient locations to reduce travel time and improve efficiency on your farm.
By carefully planning your building strategy and managing your resources, you'll create a thriving and efficient farm in Stardew Valley. Happy farming!